You probably know how to change the width of a column in Excel, but do you also know how to automatically fit the widest entry in a column?
AutoFit Column Width
The default width of a column is 64 pixels.
1. You can change the width of a column by clicking and dragging the right border of the column header.

2. To automatically fit the widest entry in a column, double click the right border of a column header.

3. To autofit multiple columns, first select multiple columns by clicking and dragging over the column headers.

Note: to select non-adjacent columns, hold CTRL while clicking the column headers.
4. Next, double click the right border of one of the column headers.

5. To change the width of all columns, first select all columns by clicking the Select All button.

6. Next, change the width of a column.

AutoFit Row Height
The techniques described above can also be used to change the height of a row. Instead of clicking the right border of a column header, simply click the bottom border of a row header. There's one more way to autofit columns or rows.
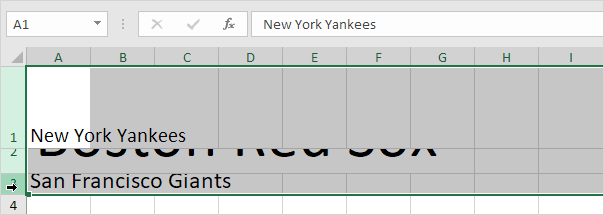
1. First, select multiple rows by clicking and dragging over the row headers.

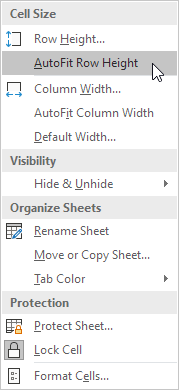
2. On the Home tab, in the Cells group, click Format.

3. Click AutoFit Row Height.

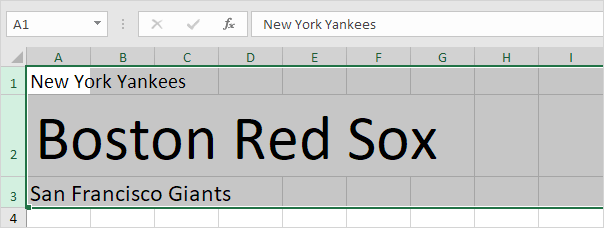
Result:

Note: you can also use this technique to set a row height or a column width (see screenshot at step 3). Be careful, don't think in pixels here. The default width of a column is 8.43 units and the default height of a row is 15.00 units.


Post a Comment